If you have been researching on redscaling films, you might have come across “expose the wrong side of the film”, but what does that exactly mean? We will not go technical, cut me some slack, this is going to be long for sure. It only means that the matte side of the film should be facing you when you load the film on your camera. Here’s how we will go about that.
But before that, you might want to take note of the materials. You will need: (1) Scissors (2) Scotch tape (3) Empty film canister (4) Film for redscaling (5) Dark room or changing bag (6) Marker (7) A little imagination and patience
1. Pick an old canister with at least a centimeter of film left. It is recommended that you label it as the “Redscaled Film” early on so you can avoid confusing yourself.

2. Pick the film you want to redscale. I chose Kodak Ultramax 400 for this tutorial because it has, by far, given the closest effect to the Lomography Redscale Negative 50-200 film sold overpriced in Lomographic Society outlets. I like the yellow to orange hue it makes and sometimes the sepia effect. 36-exp Ultramax sells at Php80 in Hidalgo.

3. Cut the leader.


4. Place the film (Kodak Ultramax 400) under the tip of the old film canister.

Here’s another photo of how it should look like, Kodak Ultramax 400 on the left and the empty canister on the right.

5. Make sure they are aligned and tape them nice and neat. Use a scotch tape, do not use thick tapes, you’ll regret it I swear.


6. Warning! This step should be done in a darkroom or a changing bag. If you’re new on this, getting a dark room might scare you off, no pun intended. The point is that we are transferring the film to an old canister and we have to do it in complete darkness! As for me, I close the windows and switch off the lights in my room in the middle of the night and there you are, my very own version of a darkroom. What I do to guarantee myself a successful DIY rescaled film, I use a make-shift changing bag (a black shirt) while at it. Again, this step requires zero tolerance for light leaks.

Start winding the old film canister so that Kodak Ultramax 400 is spooled inside it. Avoid touching the surface of the film. You can use anything to help you wind it except your fingers. Trust me.

7. Once the film is transferred to the old canister, cut the film but remember to leave at least a centimeter on the Kodak Ultramax 400 canister, which is now the empty canister, for future redscaling.

8. Cut a leader to your redscaled film to help you load it in your camera of choice. Some cameras have a slot for a leader, some don’t.

The challenge in loading the redscaled film is that the film curls away from the camera. So the remedy I always do, I fold the tip of the leader so that I can hook the sprocket holes to the take-up spool of the camera.

At this point you must be ready to shoot and “expose the wrong side of the film” which is, if you notice, the glossy side of it. Please also note that, you have to assume the ISO of the film you used to redscale one stop lower, that is ISO 200, if you redscaled a 400-ISO film.
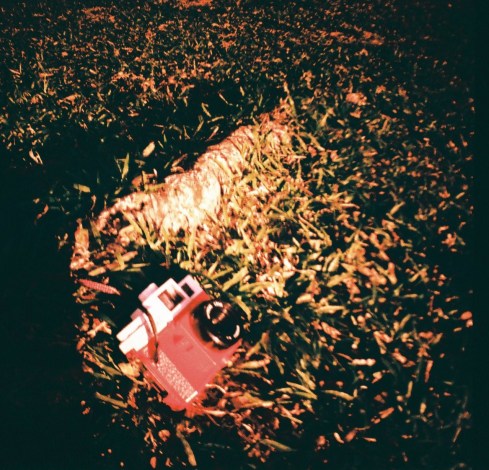
The results per kind of film you redscale varies. Here are some of them: http://angelisantina.tumblr.com/tagged/diy%20redscale#
Turns out the wrong isn’t always bad after all. Happy shooting!